Mouli Kukreja, Caroline Sanchez
Every year, people scramble to try and figure out what to get their significant other and loved ones for Valentine’s Day. While some people are hard to shop for, others may be tight on money and don’t want to spend hundreds on a nice gift. Instead, making something can be very nice and meaningful. You put all of your time and effort into it, sometimes it’s more meaningful than buying something at the store.
7. Pop Up Valentine’s Day Card
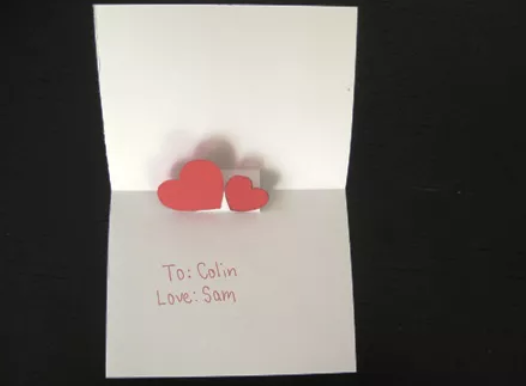
Materials:
- Two pieces of card stock.
- Colored paper.
- Scissors.
- Glue.
Steps:
- Cut six 2-inch slits into the fold of the inner piece to make the pop-up stands.
- Glue the inner corner to the shelves
- Cut out heart-shapes from the colored paper and glue on.
- Decorate the front of your card and your all done!
6. Tissue Paper Flowers
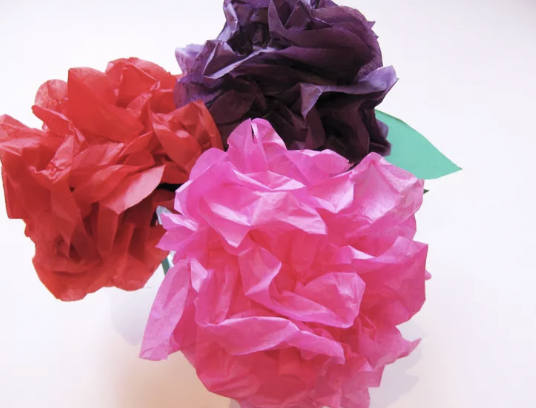
Materials:
- Tissue paper.
- Floral Wire.
- Scissors.
Steps:
- Start by cutting your tissue paper into squares—the number of pieces you layer is up to you.
- Stack your tissue paper squares on top of each other and fold them like an accordion.
- Cut a small piece of floral wire and wrap it around the middle of the folded tissue paper you want.
- Carefully open the tissue paper and bring it up once finished shape your stem rose to a flower shape by squeezing with your hands.
- Be gentle and enjoy your roses!
5. Candy Hearts Garland
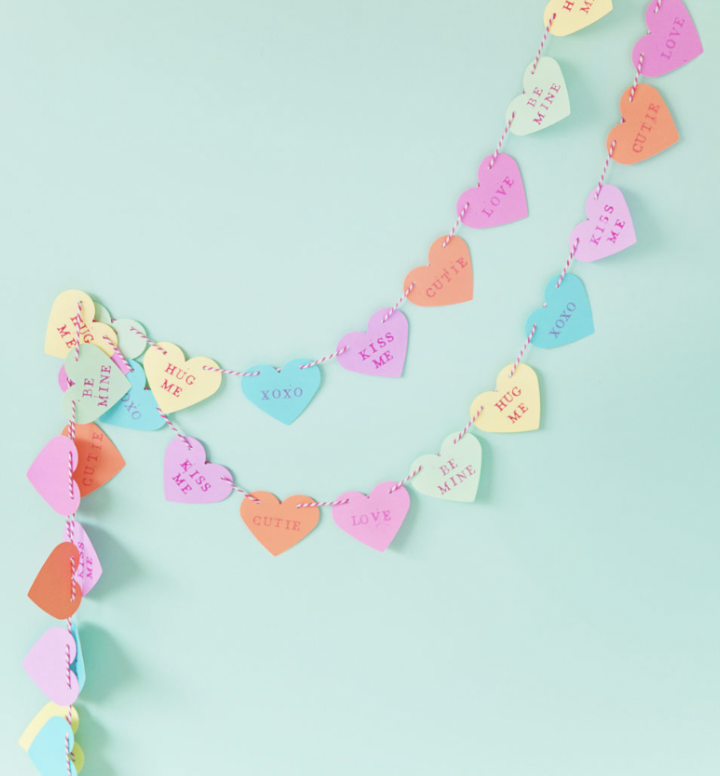
Materials:
- Colorful Paper
- Heart Punch
- Letter Stamps
- Small Hole Punch
- Bakers Twine
Steps:
- Cut out hearts in candy colors.
- Stamp cute sayings on each card. Its a lot easier to put the same saying on a specific color.
- Cut out two tiny holes in the top of each heart so you can string them into a garland.
- Lastly string them together and then hang your cute new candy heart garland.
4. Heart Stamps
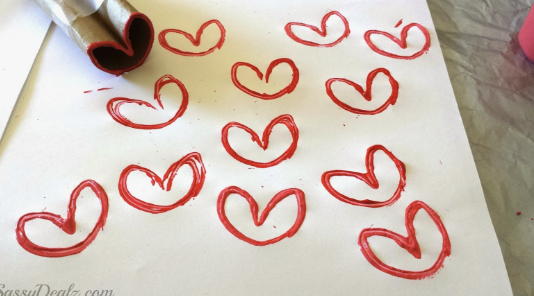
Materials:
- 1 Toilet Paper Cardboard Roll
- Paint
- Paper Plates
- Blank Cards/Paper
- Tape
Steps:
- Flatten the cardboard tube so it has a crease on two sides.
- Push one crease inward to make a heart then wrap a piece of paper around the tube to help the heart hold its shape.
- Pour a little paint on a plate and dip one end of the tube into the paint then press the cardboard tube onto your paper card.
- Let the paper dry and display your art.
3. Paper Bag Planters
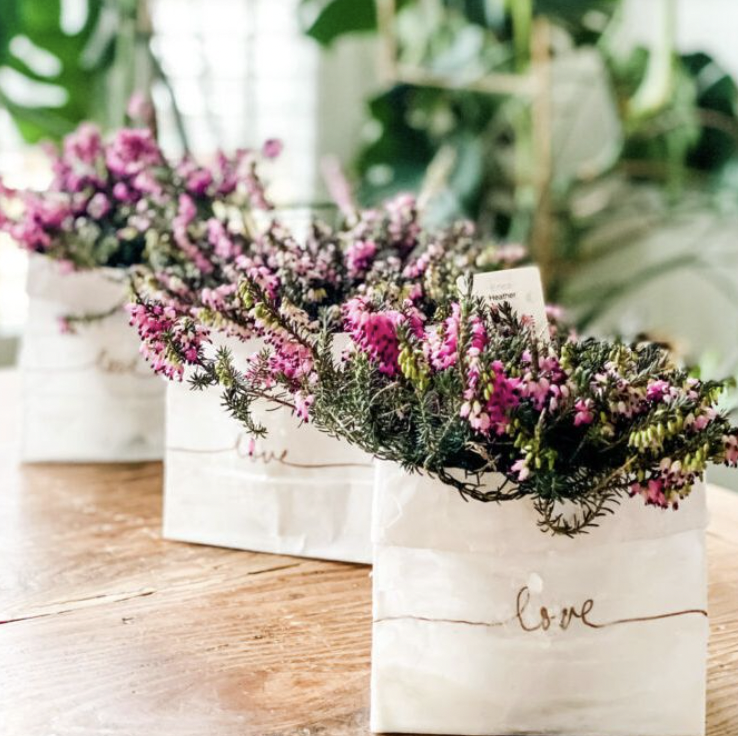
Materials:
- Brown or white paper lunch bags
- A Sharpie
- Scissors
- Wax (3-4 votives work great, no need to buy anything special)
- A craft paintbrush or a plastic spoon
Steps:
- Gather your supplies
- Prepare your bag(s) by cutting the top 4″ off the bag. Then open the bag and carefully fold down the bag making a small double fold. I try to make the fold a little smaller than an inch.
- Close the bag and lay it flat so you can write on it. Since these are for Valentine’s Day, I wrote LOVE, but you could write a name, the name of the plant, or a message…. The best place to write so that it shows is just above the bottom of the back when it’s folded down.
- Remove the candle wax from 3-4 votive candles (metal wick removed). Put into a small microwave-safe dish. (It gets pretty hot, so if you have something with handles, that works best).
- Put the dish with the wax into the microwave and melt. My microwave is not very powerful, so it took about 2.5 minutes. Keep checking and add 30 seconds as needed.
- Make sure to cover your work surface. A double-paper shopping bag works well.
- Now you are ready to cover the bag with a thin coat of wax.
- Brush or spoon the hot wax over each part of the bag and the fold. Then repeat on the inside including the side and bottom of the bag. Allow to dry for a few minutes.
- Insert your plant! Voila!
2. Heart Tassel Charm
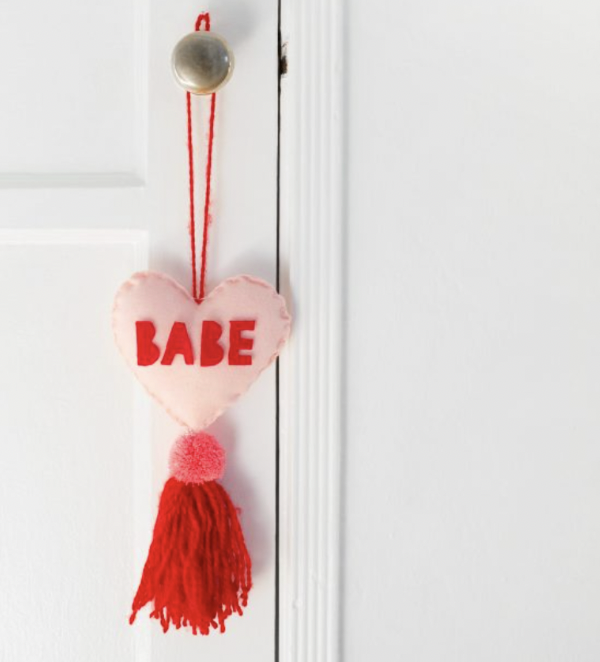
Materials:
- One Sheet of Felt
- One Sheet of Felt in a Contrasting Color (For letters, if making!)
- Embroidery Floss (To Match Felt)
- Yarn in Two Colors
- Stuffing
- Pom Pom Maker (Or pre-made pom poms)
- Large Embroidery or Yarn Needle
- Scissors
- Hot Glue Gun
Steps:
- Fold your sheet of felt in half and cut out a heart shape, through both layers so you’ll have two total hearts.
- Use a blanket stitch to stitch around the edge of the heart, leaving about a two inch opening for stuffing.
- Stuff the heart as full as desired and then stitch the opening closed using the same blanket stitch.
- Make a small pom pom, about 1.5-2″ using your pom pom maker.
- Make a tassel. The easiest way to do this is to wrap yarn around and around either something like a piece of cardboard or between your hand and elbow. Slip the loops of yarn off wherever you wrapped them and tie a small piece of yarn around the center. Use that new piece of yarn to fold the tassel in half. Trim the loops at the ends and trim all the ends until they’re even.
- Thread a piece of embroidery thread through your needle and stitch it up through the tassel, the pom pom and into the bottom of the heart. Tie with a knot and trim.
- Cut out letters to spell your desired phrase and hot glue them to the heart.
- Take a small piece of yarn and stitch or loop it through the top of the heart. Tie a knot in it and you have a way to hang your charm!
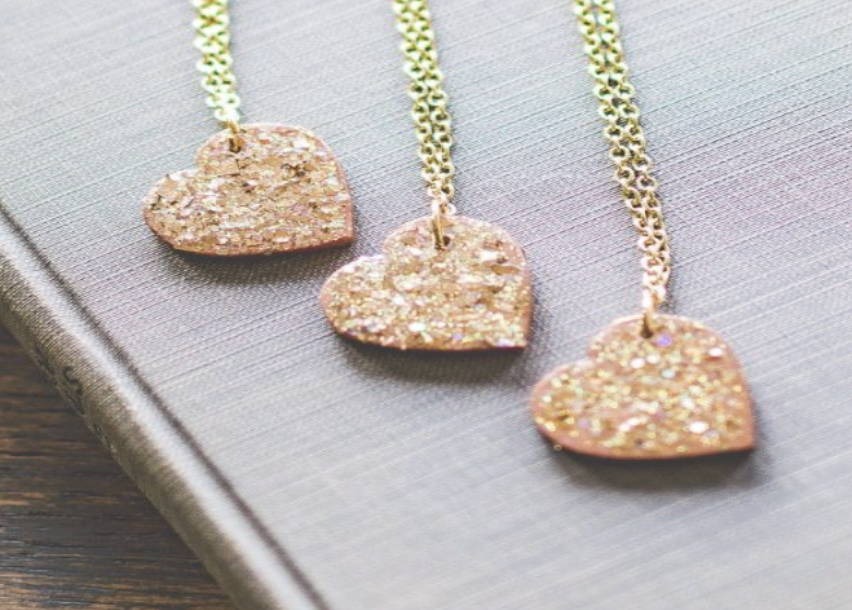
1. Glitter Heart Necklace
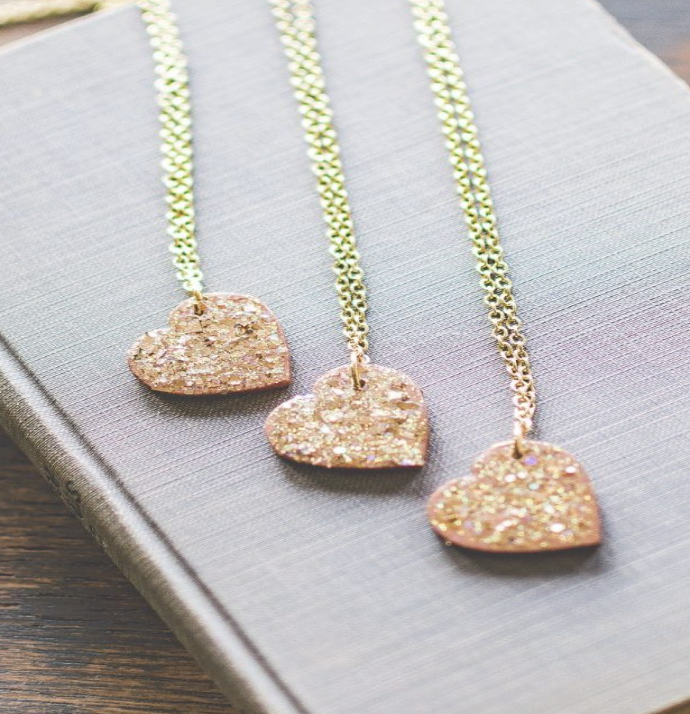
Materials:
- Wooden Hearts
- FolkArt ® Glitterific™ Acrylic Paint
- FolkArt ® Brushed Metal™ Acrylic Paint – Rose Gold
- Small Taklon Paintbrush
- Gold Necklace Chain (mine is 5.5mm)
- Craft and Jewelry Tool Kit
- Gold Jump Rings
Steps:
- Paint the Hearts-Apply one coat of the Brushed Metal Acrylic Paint in Rose Gold to the wooden heart and let dry. Paint the other side and let dry as well.
- Apply the Glitterific paint to the wooden heart and let it dry. You may apply multiple coats to achieve a more glitter effect. When applying the Glitterific paint, don’t try and brush it like you would a typical paint.
- Drill Holes-Once all the paint is dry, using a drill and 1/16″ drill bit, drill a hole through the top of the heart. You can place this wherever you prefer.
- Add Jump Rings and Chain
- Add one gold jump ring to the hole you just drilled. This is how the chain will connect to the hearts. Using the round nose pliers open up the jump ring and insert through the hole on the heart.

