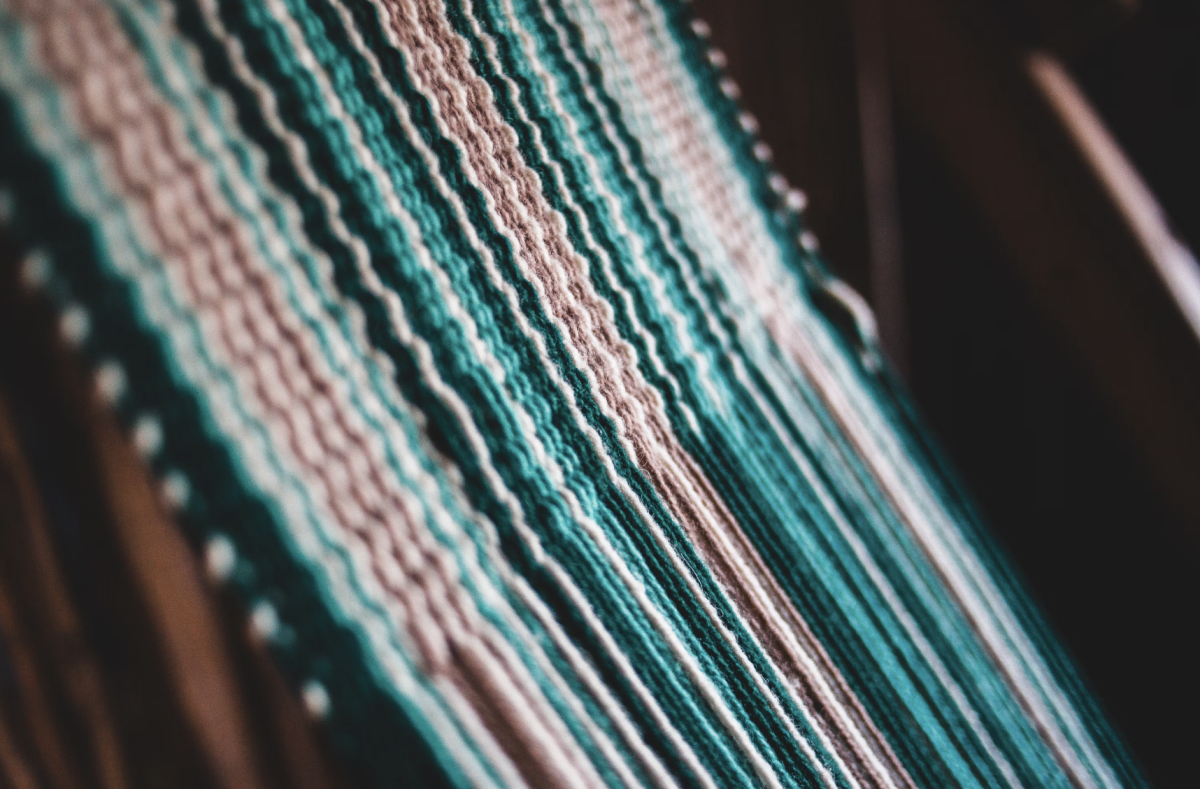
The history of weaving dates back to the Neolithic time, which makes weaving one of the oldest surviving crafts in the world. People back then used branches and twigs to weave fences, baskets, and shelters. However, now there are even more types of weaving. Some include tapestry weaving, weaving sticks, frame loom weaving, handloom weaving, and the one this article is based on cardboard weaving. Cardboard weaving is exactly how it sounds like; you weave yarn on a piece of cardboard.

Types of Techniques:
Plain Weave:
The easiest and simplest way to weave is the plain weave. Start by weaving your yarn one thread over, one thread under, and continuing this pattern until you reach the end. When you are finished, continue to weave the opposite from which you started. If you start over, you continue over and vice-versa.

Basket Weave:
Choose how many threads you want to interlace. If you decide to interlace 2 threads, you should weave 2 threads over and 2 threads under, continuing this pattern.

Twill Weave:
This weave is like the basket weave but for the twill weave, you do not need to continue the same pattern. You can change how many times you weave the thread over and under for every row. However, you must weave over at least 2 threads. This will result in a diagonal pattern when finished.

Satin Weave:
The stain weave is like the twill weave but, instead of weaving more than 1 thread, the satin weave is when you weave only 1 thread.
Materials:
1) 13 by 13-inch cardboard square or pre-bought 13 by 13-inch cardboard loom (any size would work)
2) 1 Ruler
3) 1 pair of Scissors
4) 1 roll of twine
5) Different colored rolls of yarn, thread, fibers, ribbon
6) 6 in weaving needle(s)
7) Tape
Instructions:
Step 1: (If you already have a 13 by 13-inch cardboard loom that’s already been marked off, you can skip this step). Start by taking your 13 by 13-inch cardboard square and ruler and mark off half an inch along the edge. Connect the dots to create a border.

Step 2: (If you already have a 13 by 13-inch cardboard loom that’s already been marked off, you can skip this step). On the top and bottom vertical lines of your border, measure and mark off a quarter of an inch.

Step 3: (If you already have a 13 by 13-inch cardboard loom that’s already been marked off, you can skip this step). Cut the quarter of an inch vertical lines up to the borderline.

Step 4: Take the twine and start weaving the twine between the quarter-inch cuts. When you get to the last cut, bring the twine from where you started and ended to the back of the cardboard square and tie a knot to hold everything in place. If you feel that the cardboard is too flimsy, use tape to tape the twine to strengthen the cardboard.


Step 5: With your colored yarn, decide what technique you want to follow and start weaving! When you are pulling the yarn through, put your hand on the twine to lessen the tension. Leave a loop in the end and beat (push) the yarn down every time you finish a row. You can use your hands to push the yarn down or a fork. It should be loose at the ends but tight in the middle so that the yarn can keep a square shape. Use your scissors to snip off any excess yarn. Feel free to add ribbon, fibers, or anything your heart desires. Remember to check each row after you finish for any mistakes.

Step 6: Flip the cardboard square over. Cut off the twine and knot by using scissors. Tie 2 strings of twine at a time to secure everything. If you have 3 strings of twine left over, tie them all together. Repeat this step for the top and bottom of the square. There you have it, your own cardboard weaved square. If you create multiple squares, you can sew them together to create a blanket!


If you feel like you are stuck and need more resources, check out these videos and blogs down below:
1) https://youtu.be/Zje9MDAvLIU?si=I9fVR3YnmlouA3RM (picture credits go to this video)
2) https://youtu.be/xvFn4r_5i1g?si=XmUh86E1K6QJWRaw
3) https://www.theweavingloom.com/how-to-make-a-cardboard-loom/
4) https://www.cedardellforestfarm.com/blog/2020/7/10/diy-cardboard-weaving-loom
5) https://www.kaliko.co/blogs/articles/how-to-weave-on-a-diy-cardboard-loom


